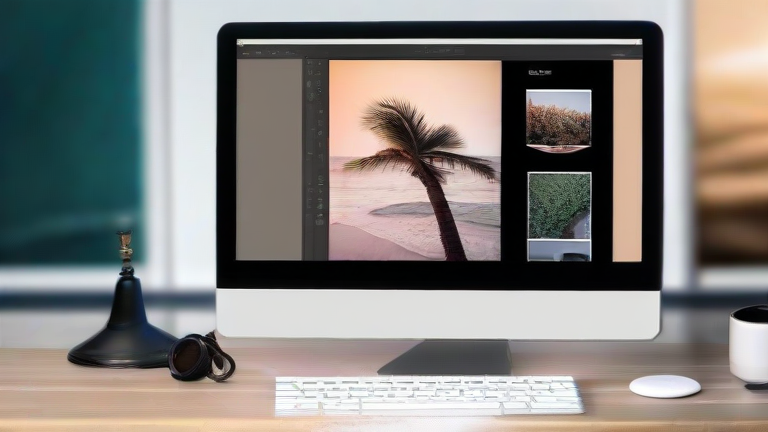
TL;DR: Master Adobe Lightroom by importing your best shots, organizing them into smart collections, and utilizing the Develop module’s sliders for precise exposure and color adjustments. Consistent practice with non-destructive editing tools ensures you retain original files while achieving professional-grade results efficiently.
Getting Started and Importing
Begin by launching Adobe Lightroom and navigating to the Library module. Click the Import button in the lower-left corner to bring your images into the catalog. Choose a destination folder on your hard drive to avoid cluttering your operating system. During import, you can set file handling options to copy, move, or reference files. Assigning initial star ratings and labels here helps you filter for your best work later. Remember that Lightroom does not alter your original files; it creates a catalog of references and metadata, ensuring your safety net remains intact throughout the editing process.
If you want to dig deeper, check out our guide on Hiring B2B Sales Reps for a Shopify App.
Organizing and Culling
Once images are imported, use the Loupe or Grid view to cull your selections. Press the letter P to flag a photo as a pick, or X to mark it as a reject. This quick culling phase saves significant time later. Create Smart Collections based on criteria like star ratings or color labels to keep your workflow organized. For example, create a collection for all five-star photos that have a red label. This system allows you to focus exclusively on high-priority images without sifting through duplicates or lower-quality shots, streamlining your editing pipeline considerably.
The Develop Module Basics
Switch to the Develop module to begin actual editing. Start with the Basic panel. Adjust the Exposure slider to brighten or darken the overall image. Use the Contrast slider to enhance the difference between light and dark areas. The Whites and Blacks sliders let you control the brightness of the brightest and darkest tones respectively, which is crucial for dynamic range. Next, dive into the Tone Curve panel for more granular control over highlights and shadows. A slight S-curve adds punch to the image. Finally, tweak the HSL panel to adjust the Hue, Saturation, and Luminance of specific colors. This allows you to make the sky bluer or skin tones warmer without affecting other hues.
Final Touches and Exporting
Apply subtle sharpening in the Detail panel to enhance texture. Keep the Noise Reduction sliders low to avoid an artificial look. Once satisfied, click Export in the lower-left corner. Choose your export location, file format (JPEG for web, TIFF for print), and size. Selecting the right preset ensures your images look consistent across different platforms. Downloading the original file is also an option if you need high-resolution backups. By following these steps, you build a repeatable workflow that balances creative freedom with technical precision.
FAQ
Q: Is Lightroom free to use?
A: No, Adobe Lightroom is a subscription-based service included in the Creative Cloud Photography Plan or individual subscription, though a limited free version exists for basic editing.
Q: Can I undo changes in Lightroom?
A: Yes, Lightroom uses non-destructive editing, meaning you can always reset any changes or revert to previous states using the History panel or by resetting specific sliders.
Q: What is the difference between Lightroom and Lightroom Classic?
A: Lightroom is a cloud-based app designed for mobile and cross-device syncing, while Lightroom Classic is the desktop-first application with more advanced features and local file management capabilities.