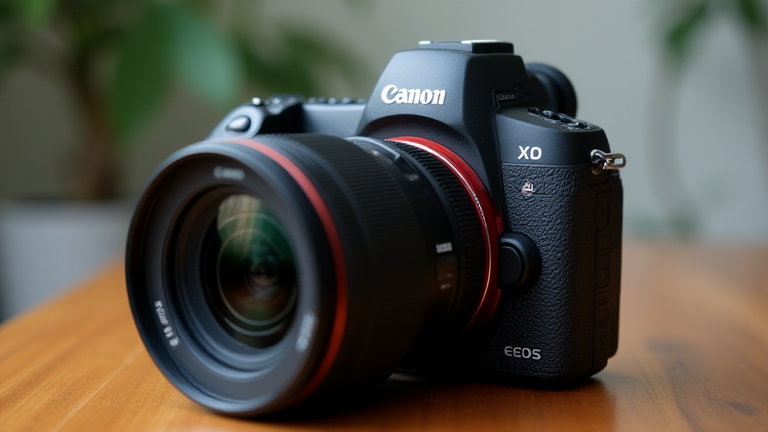
TL;DR: Insert the battery and memory card, attach a lens, power on, set the date/time, and format the card to start shooting. Then, configure focus, image quality, and video settings to match your workflow.
Step 1: Power and Media Prep
Open the battery door on the bottom and slide the LP-E6NH battery in until it clicks. Open the card slot cover on the right side—the R5 has two slots: CFexpress (Slot 1) and SD (Slot 2). Insert a CFexpress card in Slot 1 for high-speed 8K video, or an SD card (UHS-II) in Slot 2 for stills. Close both covers securely.
If you want to dig deeper, check out our guide on VR Classrooms: Why Higher Ed Is Embracing Virtual Reality.
Step 2: Attach the Lens
Remove the rear lens cap and the camera body cap. Align the white dot on the RF lens with the white dot on the camera mount. Rotate the lens clockwise until you hear a firm click. For EF lenses, use the Canon EF-EOS R adapter—same alignment, same click.
Step 3: Power On and Initial Setup
Flip the power switch from OFF to ON (the top-left dial). The camera will prompt you to set language, date, and time—use the touchscreen or rear joystick to input. Set your time zone first, then tap “OK.” After this, go to the wrench menu (Menu → Setup 1) and select “Format card.” Choose Slot 1, confirm, and wait for “Card formatted.”
Step 4: Core Shooting Settings
Press the MENU button, go to the red camera tab (Shooting 1). Set Image Quality to RAW (or RAW+JPEG) and Image Size to L. Set ISO to 100–400 for bright light, and set White Balance to AWB (Auto). For autofocus, set AF Operation to Servo (for moving subjects) or One-Shot (for static). Set Drive Mode to High-Speed Continuous via the Q (Quick) button.
Step 5: Video Prep (Optional)
Rotate the mode dial to the movie icon (red dot). Press the Q button, then set codec to HEVC or H.265, resolution to 8K or 4K, and frame rate to 24 or 30 fps. Enable Canon Log 3 for grading headroom. For audio, plug into the 3.5mm mic jack and set input level to manual (start at 40%).
Step 6: Final Checks
Set the lens switch to AF (if it has one). Half-press the shutter to confirm focus—the EVF should show a green box. Take a test shot, review it with the play button, and zoom in with the magnify button to check sharpness. If the image is dark, raise ISO or use exposure compensation via the rear dial.
FAQ
Q: Do I need a CFexpress card, or can I use only SD?
A: You can shoot stills and 4K video on a UHS-II SD card, but 8K video and high-burst RAW require CFexpress for reliable write speeds.
Q: How do I switch between the viewfinder and rear screen?
A: Press the “Fv” button (above the touchscreen) to cycle through EVF-only, screen-only, and auto-switch modes. Or, use the eye sensor—it auto-switches when you bring the camera to your eye.
Q: The camera won’t focus—what should I check?
A: Ensure the lens is on AF (not MF), the shutter is half-pressed, and the AF mode is not set to “Faces” if no face is visible. Also, clean the lens contacts with a dry cloth and check that the focus limiter switch (if any) isn’t set to a short range.