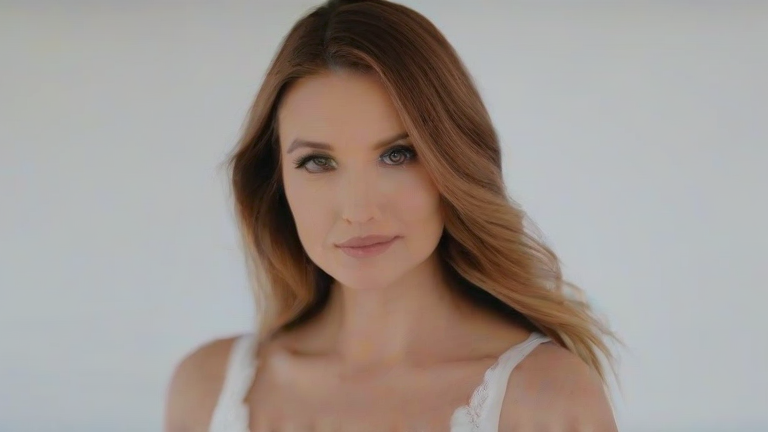
TL;DR: To capture stunning portraits with the Sony Alpha a7 IV, enable Eye-AF for both humans and animals, shoot in Aperture Priority mode with a low f-stop, and utilize the camera’s advanced color science for natural skin tones. These settings ensure sharp focus on the subject’s eyes while creating a pleasing background blur that isolates your subject effectively.
Preparing Your Camera
Begin by selecting an appropriate lens, ideally a prime lens with a focal length between 85mm and 135mm. This range provides flattering perspective compression and allows for a wide aperture, typically f/1.4 to f/2.8, which is crucial for achieving that desirable bokeh effect. Mount your lens firmly and ensure your firmware is up to date to access the latest autofocus enhancements. The a7 IV boasts industry-leading Eye-AF, so verify that this feature is enabled in the menu under the camera settings. Set the autofocus mode to Continuous (AF-C) to track eye movement smoothly, ensuring that the subject remains sharp even if they shift slightly during the shoot.
Optimizing Exposure Settings
Switch your camera to Aperture Priority mode (A). This allows you to control the depth of field directly while the camera handles shutter speed. Set your aperture to its widest setting, such as f/2.8, to blur the background. Be cautious, however, as extremely wide apertures can result in a shallow depth of field where only part of the face is in focus. Adjust the ISO to maintain a proper exposure, keeping it as low as possible to minimize noise. Use the exposure compensation dial to brighten or darken the image, ensuring the subject’s face is well-lit. If shooting in harsh midday sun, consider using a reflector or finding open shade to soften shadows.
If you want to dig deeper, check out our guide on Top 10 SEO Trends You Can’t Ignore in 2024.
Mastering Focus and Composition
Activate Real-time Eye AF for Human subjects. This is the cornerstone of portrait photography on the a7 IV. The camera will lock onto the eye closest to the center of the frame. If you are shooting group portraits, ensure the subject’s eye is clearly visible to the sensor. Use the focus area setting set to Zone or Wide to give the camera more flexibility in tracking. Compose your shot using the rule of thirds, placing the subject’s eyes along the upper horizontal grid line. This creates a balanced and engaging composition. Take the time to observe the lighting on your subject’s face, adjusting your position or the subject’s orientation to catch the most flattering light.
Post-Processing and Review
Shoot in RAW format to retain maximum detail and flexibility during editing. The a7 IV’s 33-megapixel sensor captures immense detail, allowing you to crop without significant quality loss. Review your images on the high-resolution LCD screen, zooming in to check focus accuracy on the eyes. The a7 IV’s color profile, particularly the S-Log3 or HLG settings, offers extensive dynamic range if you plan to grade your footage or images professionally. However, for quick results, the Standard picture style often delivers pleasing skin tones straight out of the camera. Regularly check your histograms to ensure you are not clipping highlights, which can ruin skin texture.
FAQ
Q: What is the best aperture for portraits?
A: A wide aperture like f/1.8 to f/2.8 is ideal for isolating the subject, but f/4 is better for group shots to ensure everyone is in focus.
Q: How do I enable Eye AF on the a7 IV?
A: Go to the Camera Settings menu, select AF Mode, and choose Real-time Eye AF for Human under the AF Area settings.
Q: Should I shoot in RAW or JPEG for portraits?
A: Shoot in RAW for maximum editing flexibility, especially for skin tone correction and exposure recovery, though JPEGs are ready for immediate use.