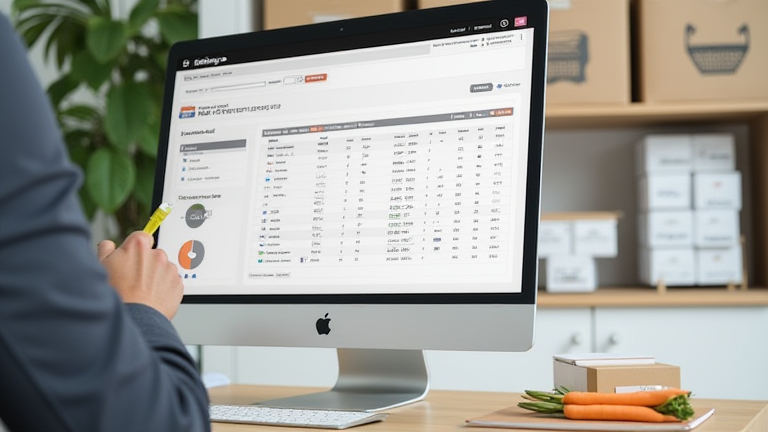
TL;DR: To set up Shopify inventory tracking, navigate to your Products section, select the specific item, and check the “Track quantity” box in the Inventory section. Ensure you enter the correct starting quantity and SKU to maintain accurate stock levels automatically.
How to Set Up Shopify Inventory Tracking for Beginners
If you want to dig deeper, check out our guide on IA & Full Stack : Les Compétences Clés du Développeur Modern.
Managing your stock effectively is crucial for avoiding overselling and ensuring customer satisfaction. Shopify provides robust tools to handle this, but knowing where to click can be confusing for new store owners. This guide simplifies the process into actionable steps.
Enable Tracking for Individual Products
Begin by logging into your Shopify admin dashboard. From the left-hand menu, click on Products, then select All products to view your catalog. Find the specific product you wish to track and click on its title to open the details page. Scroll down to the Inventory section. You will see a checkbox labeled “Track quantity.” Check this box to activate tracking for this specific item. Once checked, a field will appear allowing you to input the quantity on hand. Enter the current number of physical units you have in stock. It is also wise to fill in the SKU (Stock Keeping Unit) if you have one, as this helps with internal organization and reporting.
Configure Inventory Policies
While on the same Inventory section, look for the Inventory policy settings. You will see options for “Continue selling when out of stock” and “Backorder” settings. Decide whether you want to allow customers to purchase items that are currently out of stock. If you select “Do not allow,” the product page will automatically show as sold out once your tracked quantity reaches zero. This prevents overselling but may result in lost sales if demand is high. If you choose to allow backorders, customers can still buy the item, but you must manually update the inventory once new stock arrives.
Manage Variants
If your product has variants, such as different sizes or colors, you must track inventory for each variant individually. Click on the Variants section within the product page. Ensure that the “Track quantity” box is checked for each specific variant. This granular control allows you to see exactly which color or size is selling fastest. You can also adjust the quantity for each variant separately to reflect your actual warehouse stock.
Importing Bulk Inventory
For stores with many products, editing each item manually is inefficient. Use the Shopify CSV import feature. Download the current inventory template, update the quantity columns for all products, and re-upload the file. This ensures all your data is accurate in one go. Always double-check your CSV file for errors before uploading to avoid data corruption.
Regular Audits
Even with automated tracking, physical counts can differ from digital records due to theft, damage, or shipping errors. Perform regular physical inventory audits. Compare your physical count with your Shopify dashboard. If discrepancies exist, adjust the quantity in Shopify to match reality. This practice keeps your data clean and reliable for reporting and decision-making.
FAQ
Q: Can I track inventory for products without a SKU?
A: Yes, Shopify allows inventory tracking without a SKU, but adding SKUs is recommended for better organization and easier bulk management.
Q: What happens if I forget to check “Track quantity”?
A: If unchecked, Shopify will not monitor stock levels, meaning customers can potentially order unlimited quantities regardless of your actual physical stock.
Q: How do I sync inventory across multiple sales channels?
A: Shopify automatically syncs inventory across all connected sales channels, such as your online store, POS, and marketplaces, provided tracking is enabled for the product.